The Nintendo DS Lite battery is usually the most susceptible to degradation, but one of the easiest to replace. Before you begin, turn off your Nintendo DS Lite and remove any game cartridge to ensure safety during the process. To complete this replacement, you will need the following:
- Replacement Battery
- Tri-Wing Screwdriver
- Small Tweezers or Plastic Opening Tools
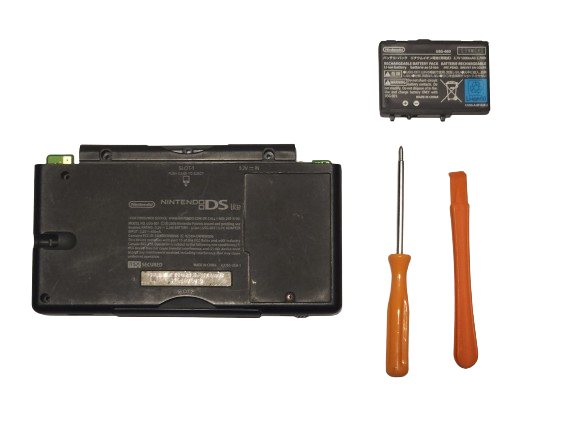
Step 1: Remove the Battery Cover
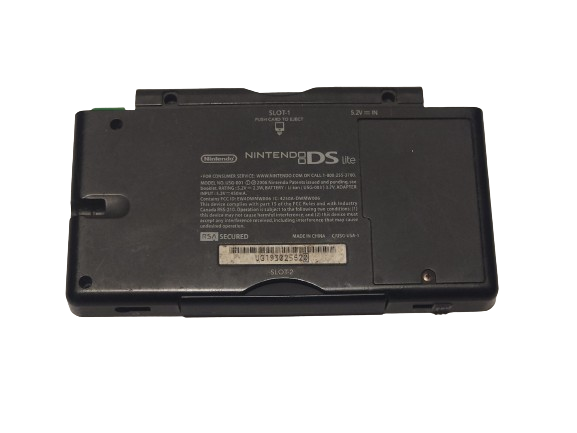
Use the tri-wing screwdriver to remove the screw securing the battery cover on the back of the DS Lite. Set the screws aside in a safe place.
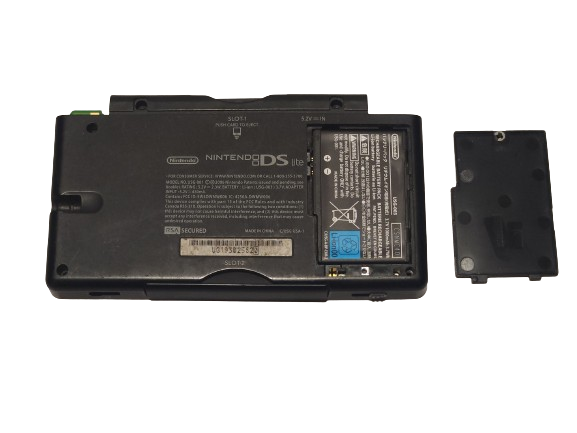
Step 3: Disconnect the Old Battery
Use tweezers or a plastic opening tool to gently lift the battery out from the opposite side of the terminals. Be careful not to pull or yank it, as you do not want to short the terminals.
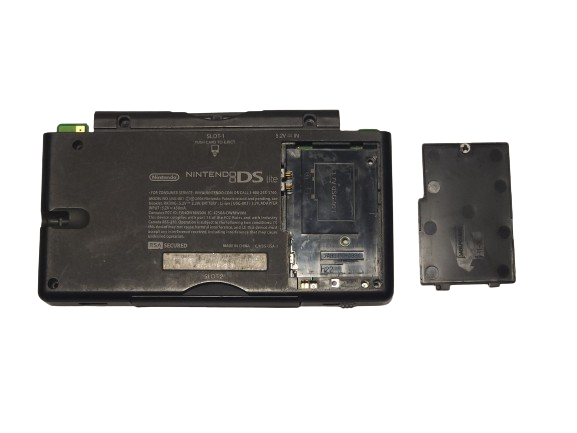
Step 4: Replace with the New Battery
Slowly insert the new battery into the battery slot, connecting the terminals first, and dropping the other side in, ensuring a secure connection.
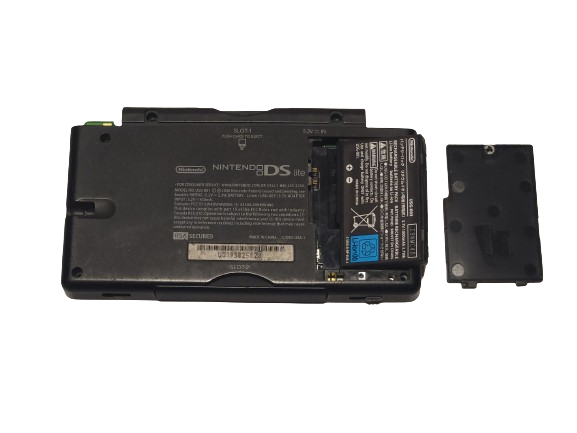
Step 5: Attach the Battery Cover
Use the tri-wing screwdriver to re-attach the battery cover.
Step 6: Test the DS Lite
Turn on your DS Lite and check if it powers up correctly. If everything is in order, you’ve successfully replaced the battery!
By following these steps, you can extend the life of your Nintendo DS Lite and continue enjoying your favorite games without interruption. Remember, if you’re unsure about any step, consult the Nintendo DS Lite manual or seek assistance from our support team, [email protected].